Using the App: A Tour of NextNonce
Welcome to the main user guide! Once you're signed in, you can start adding wallets and tracking your crypto portfolio.
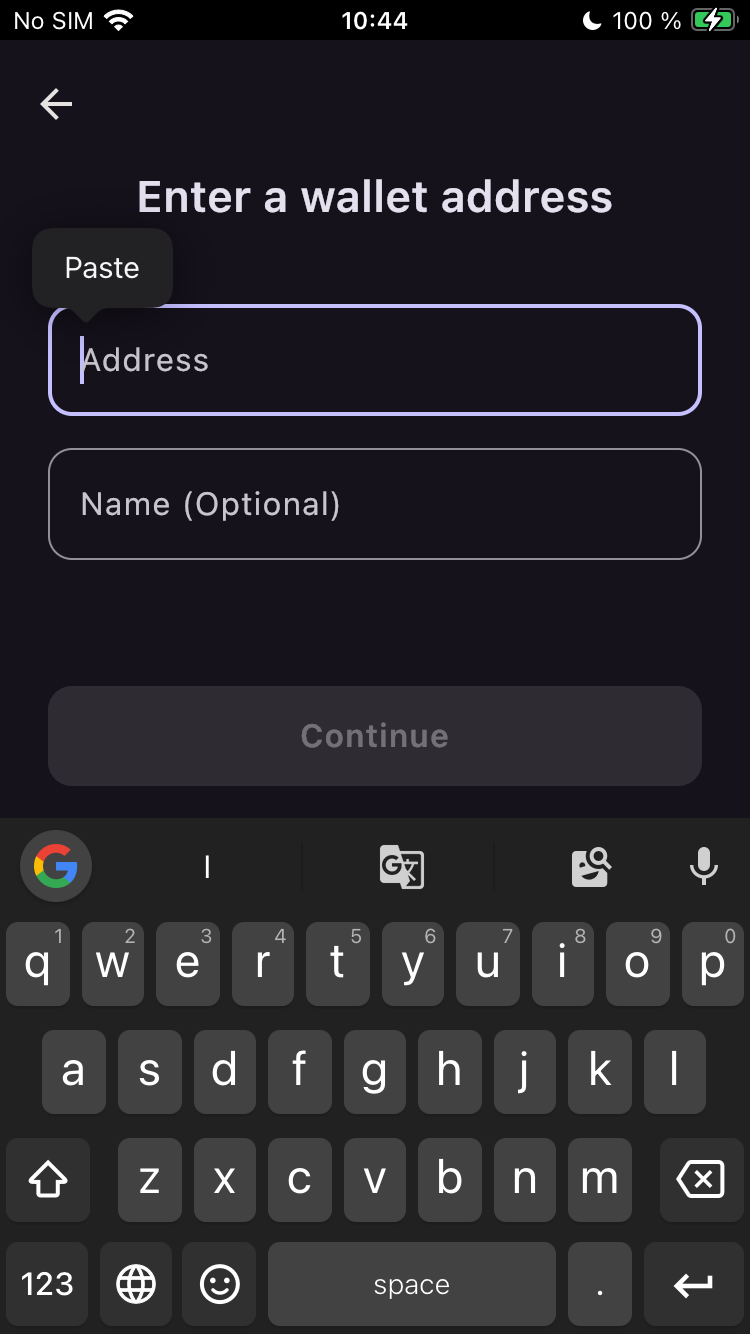
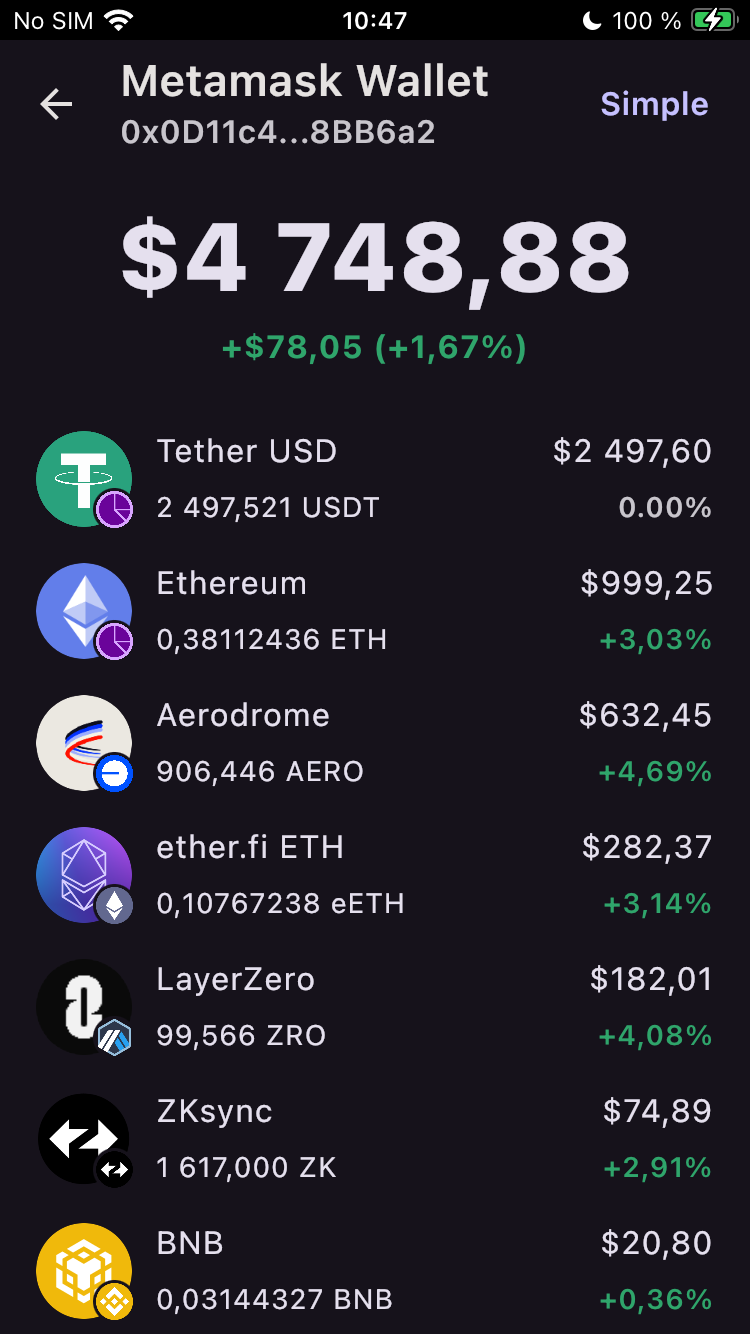
A Note on Platforms The entire experience described in this guide — from adding wallets to viewing your portfolio — is absolutely the same for both Android and iOS. The app was built from the ground up to provide an identical, seamless experience on every device.
Block 1: Adding Your Wallets
This is the first and most important step to start using NextNonce.
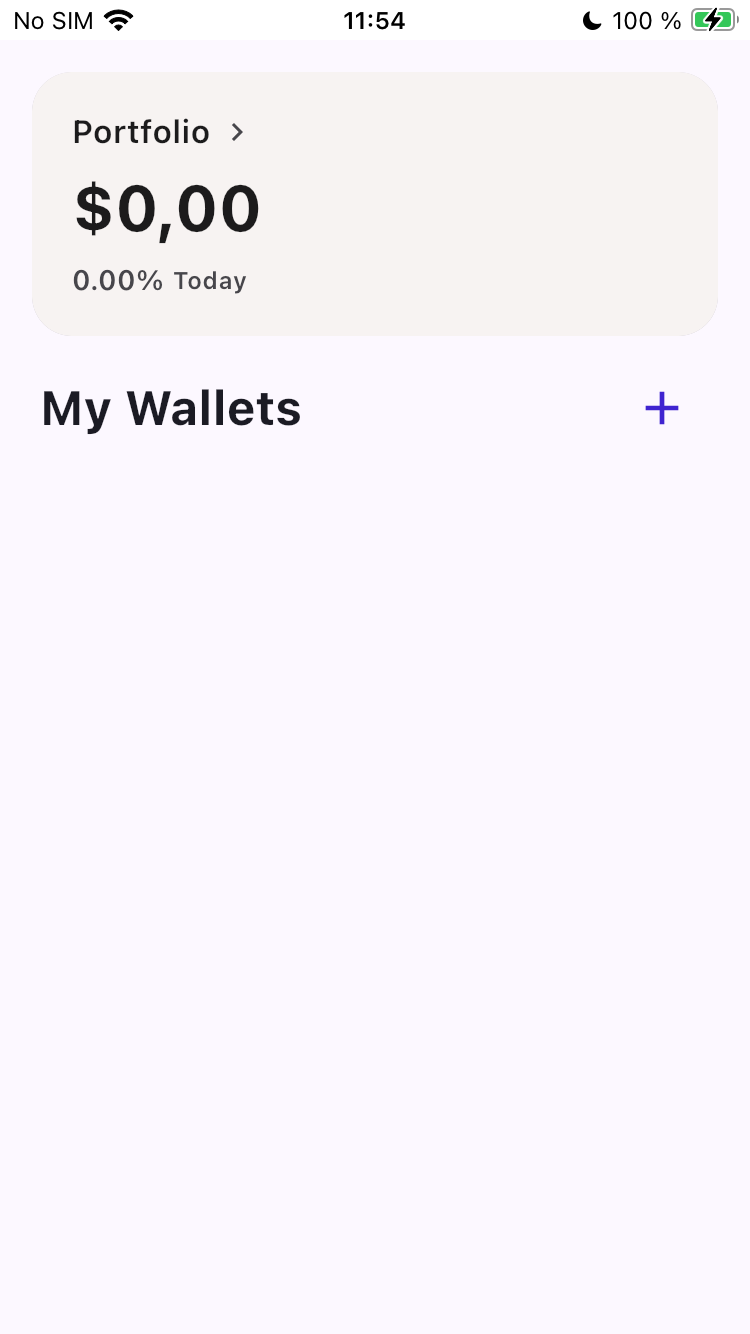
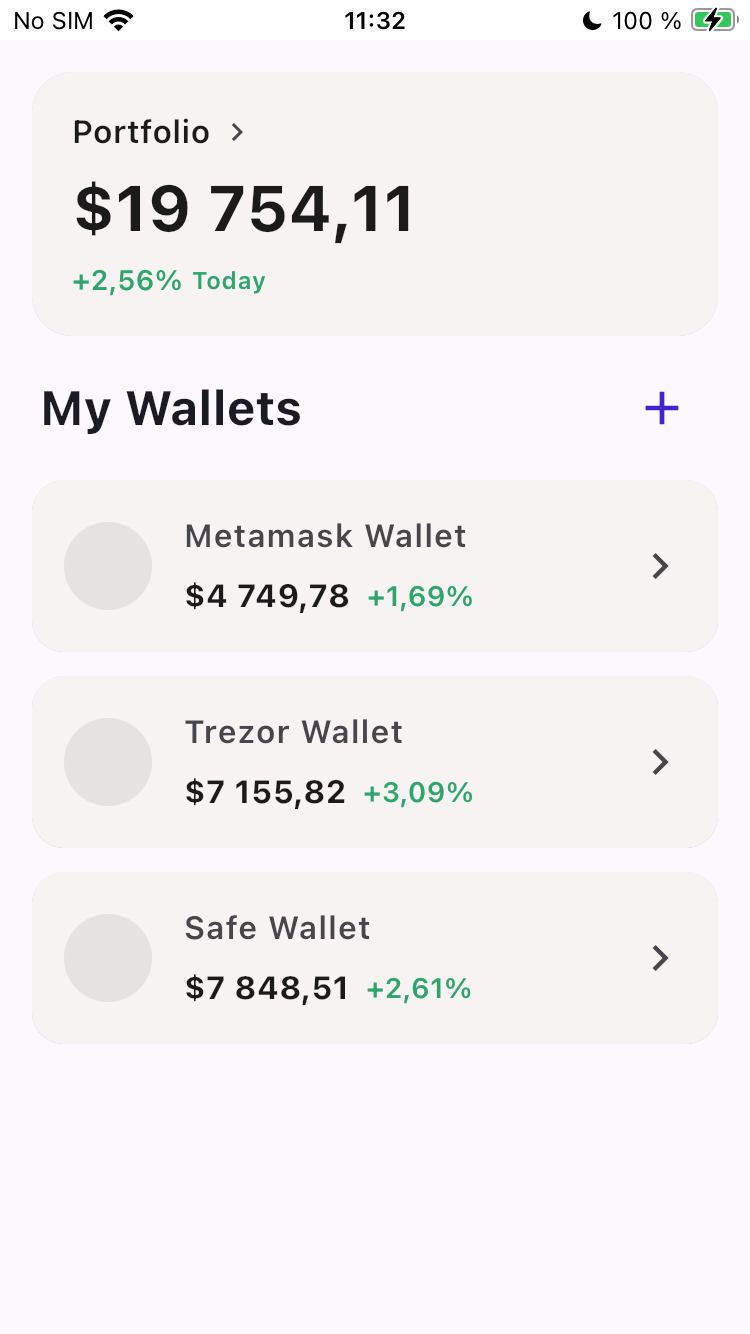
Step 1: The Empty Dashboard
When you first sign in, your dashboard will be empty because you haven't added any wallets to track yet.
To get started, tap the plus (+) icon next to "My Wallets".
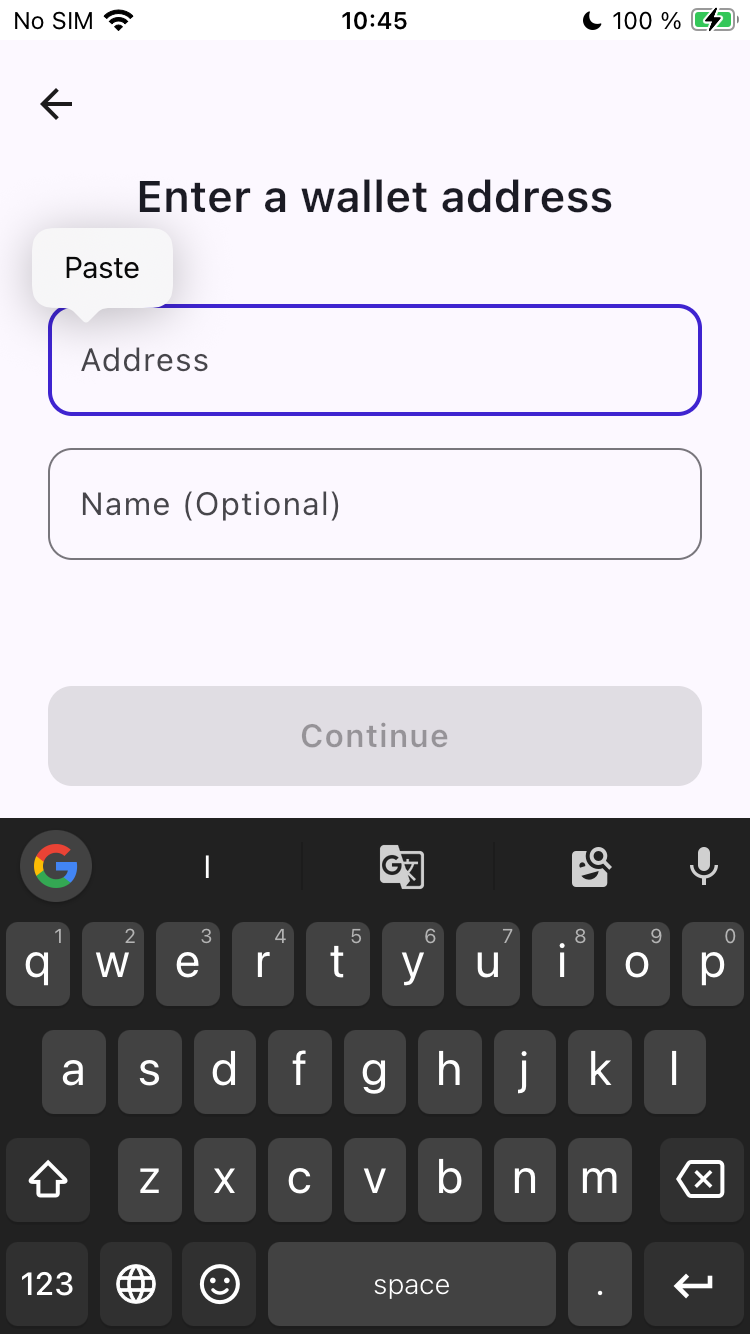
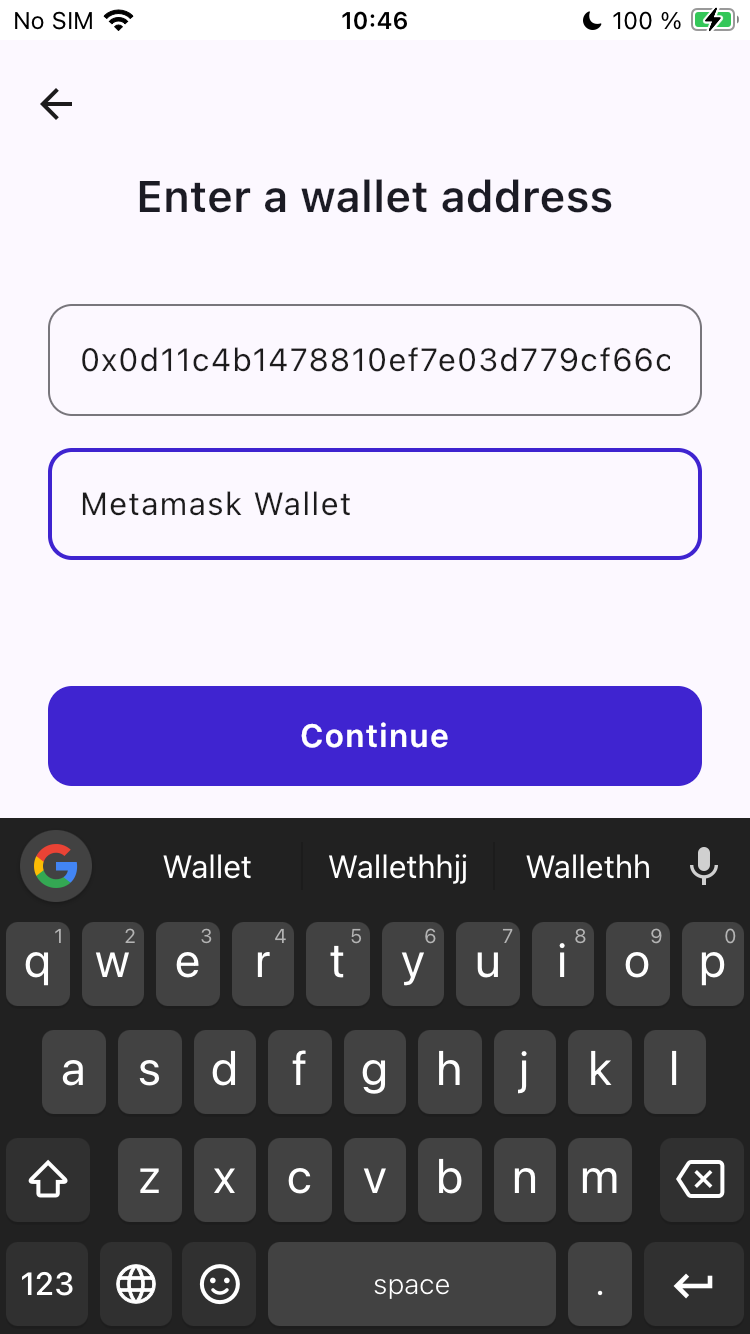
Step 2: The "Add Wallet" Screen
Tapping the plus icon will take you to the "Enter a wallet address" screen. The keyboard will appear, ready for you to input the address.
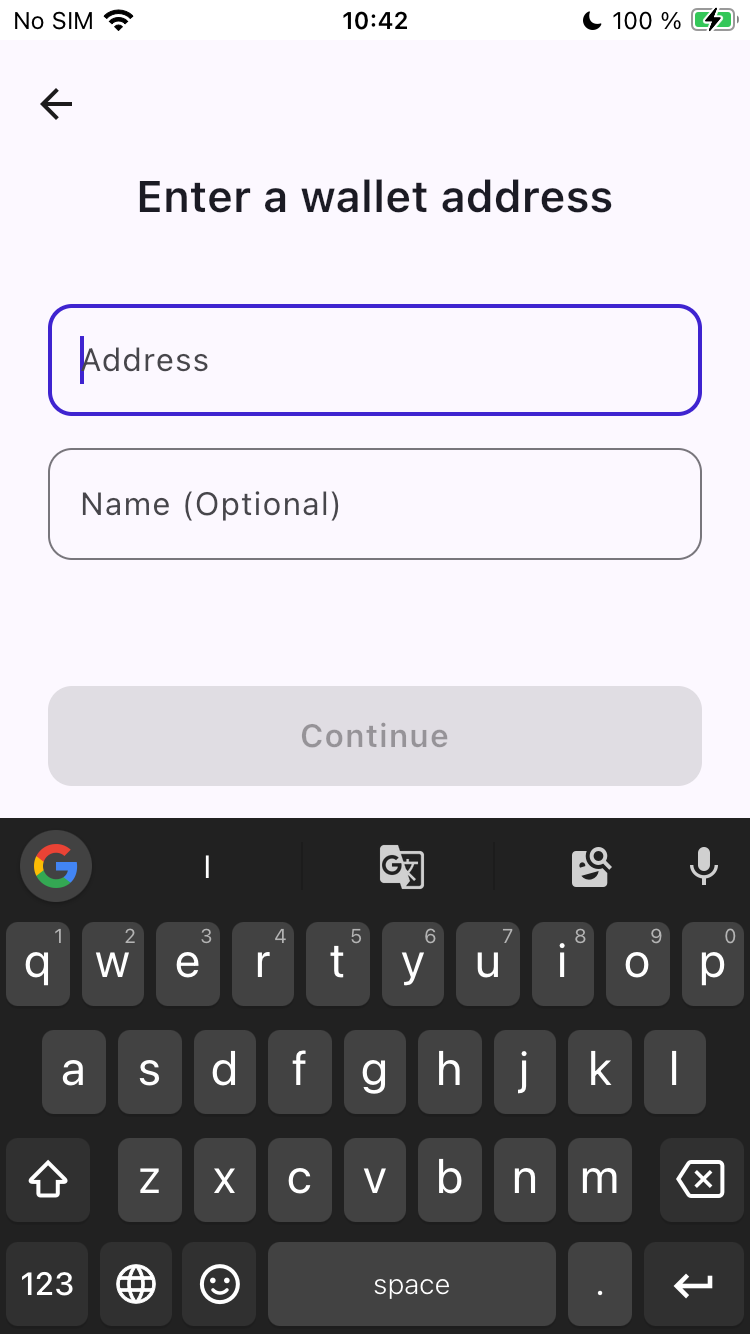
Step 3: Entering the Wallet Address
Here, you will provide the public address of the wallet you want to track.
What Wallets Can I Add?
NextNonce currently supports all EVM-compatible wallets.
What is an EVM Wallet? EVM stands for "Ethereum Virtual Machine." An EVM wallet is one that can interact with the Ethereum network and other compatible blockchains (like Polygon, Avalanche, BNB Chain, etc.). If you'd like to learn more, this article provides a great explanation.
You can get your public wallet address from virtually any wallet you use:
-
Browser Wallets: MetaMask, Rabby, etc.
-
Mobile Wallets: Trust Wallet, Rainbow, etc.
-
Hardware (Cold) Wallets: Trezor, etc.
-
Smart Wallets / Safes: Safe, etc.
NextNonce can track any EVM wallet.
Best Practice: Paste, Don't Type
Wallet addresses are long and complex. To avoid errors, it is highly recommended to copy the address from your wallet app and paste it into the "Address" field in NextNonce.
Step 4: Name Your Wallet (Optional)
After pasting the address, you can give your wallet a custom name. This is highly recommended if you plan to track multiple wallets, as it makes them much easier to identify.
Tap on the "Name (Optional)" field and type a name that makes sense to you, like "Metamask Wallet" or "My Savings".
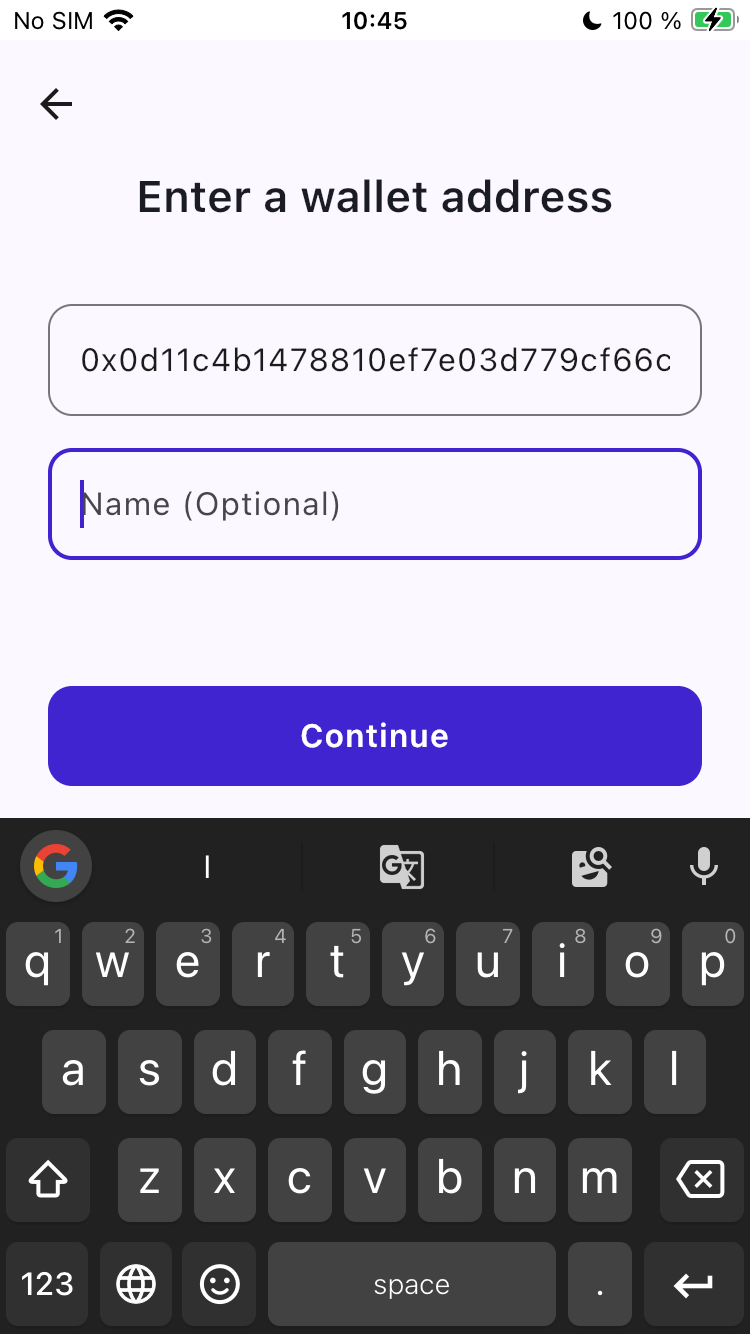
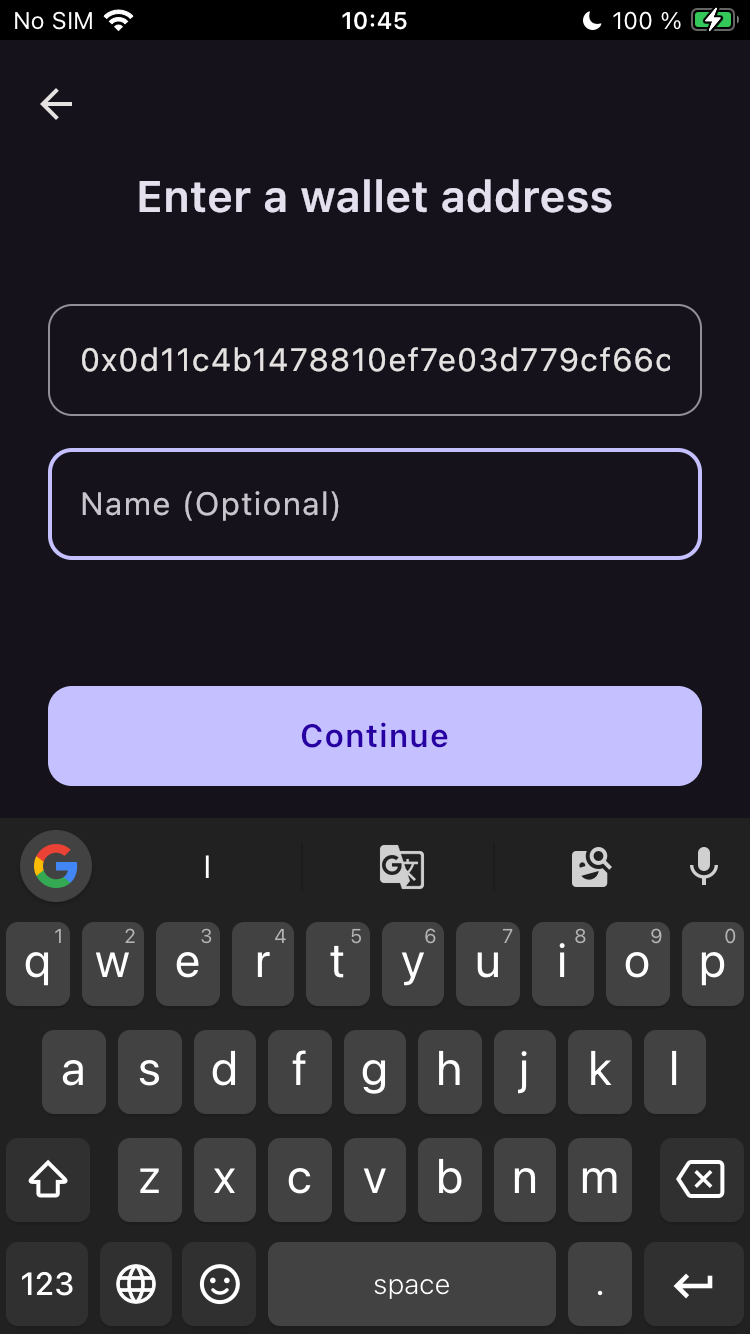
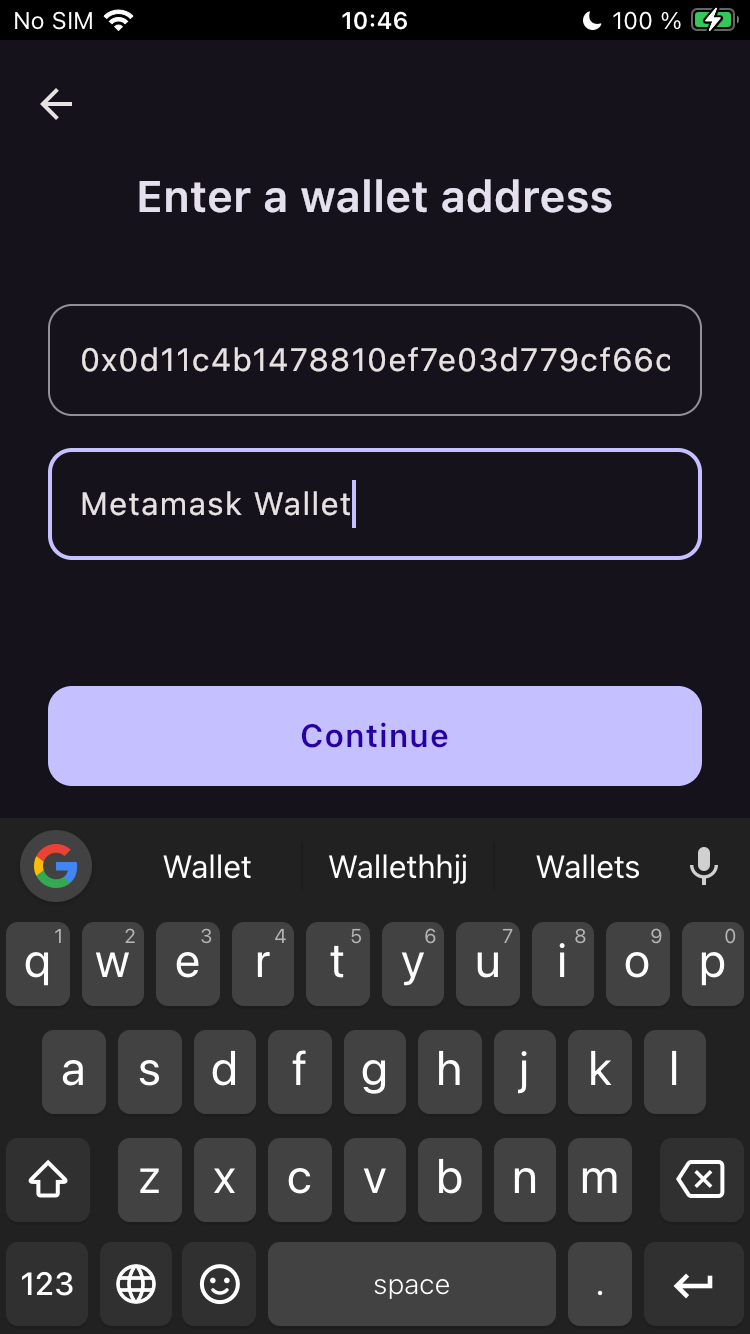
Step 5: Add the Wallet to Your Dashboard
Once you have entered the address and an optional name, tap the Continue button.
NextNonce will then securely fetch the balances for your wallet across all supported blockchains.
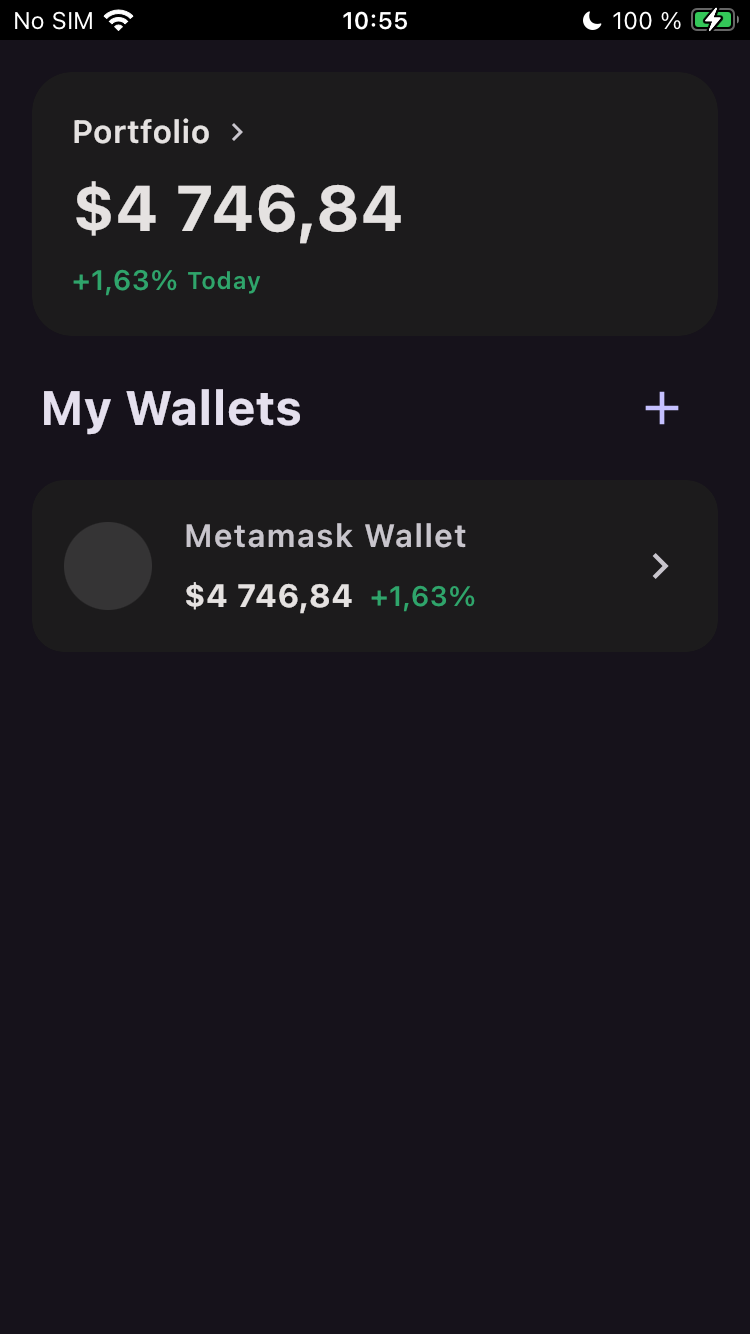
Step 6: View Your Updated Dashboard
After a brief moment, you will be automatically returned to the main dashboard. It will no longer be empty!
You will now see:
-
Your total portfolio value at the top has been updated.
-
Under "My Wallets", your newly added wallet is listed with its custom name and its total balance.
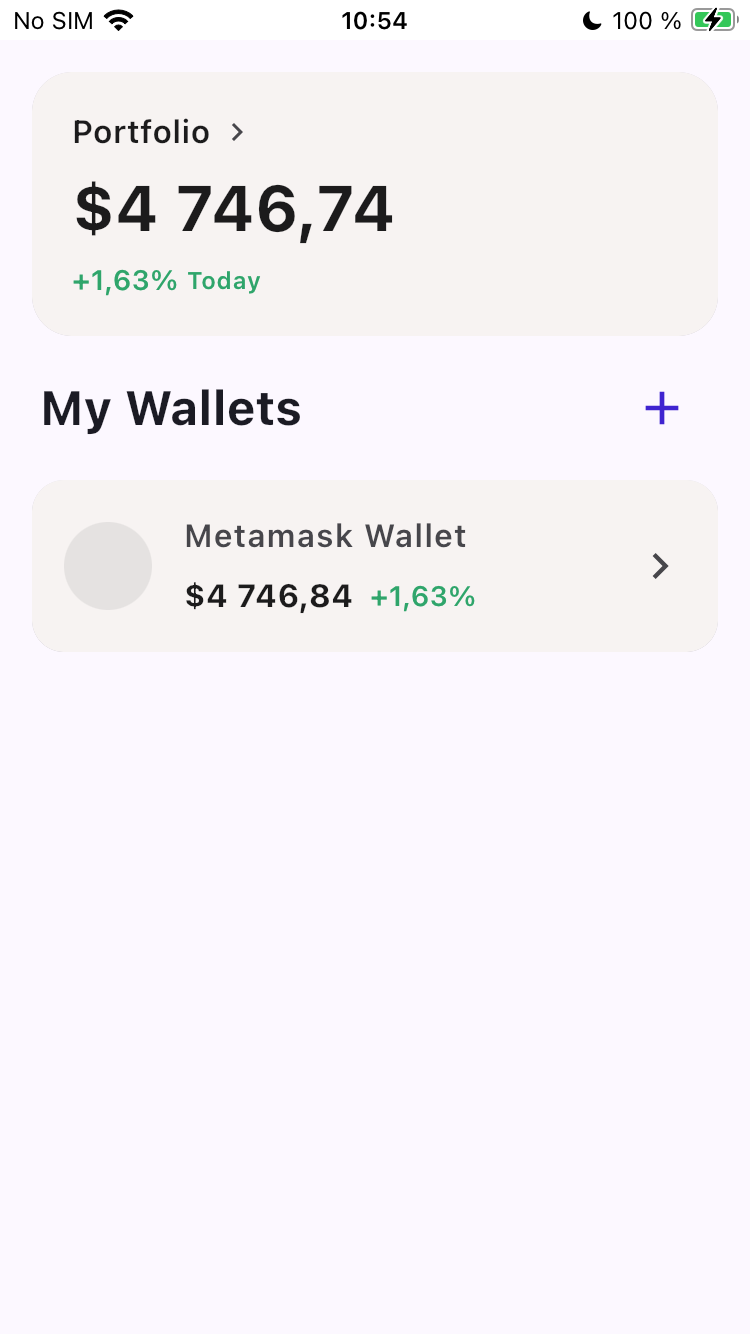
Congratulations, you've added your first wallet!
You can now repeat this process to add all of your other wallets. Just tap the plus (+) icon again. Don't worry, you can always come back and add more wallets at any time.

Block 2: Viewing Wallet Details
Once you have wallets on your dashboard, you can dive deeper to see the specific assets inside each one.
Step 1: Open a Wallet
From the dashboard, simply tap on any wallet in the "My Wallets" list to open its detailed view.
Step 2: Understand the Wallet Screen
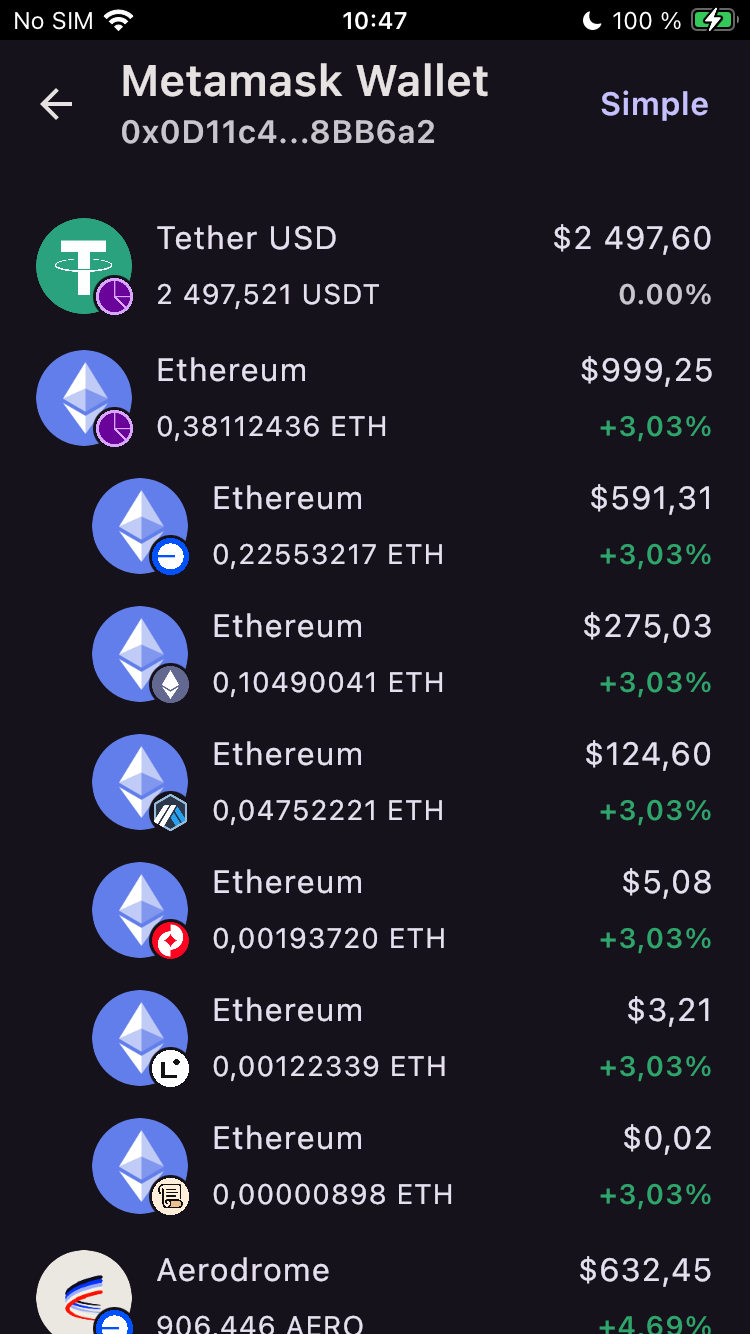
The Wallet screen prominently displays the total combined balance of all your tokens across all blockchains. Following this, you'll find a list of each token you hold, ordered by its current dollar value from highest to lowest.
For each token, you will see:
-
Token Logo & Chain Logo: Visual identifiers for the asset and its native blockchain.
-
Token Name & Balance: The name of the token and how much of it you hold.
-
Value in $ & Price Change: The current market value of your holding and its 24-hour price performance.
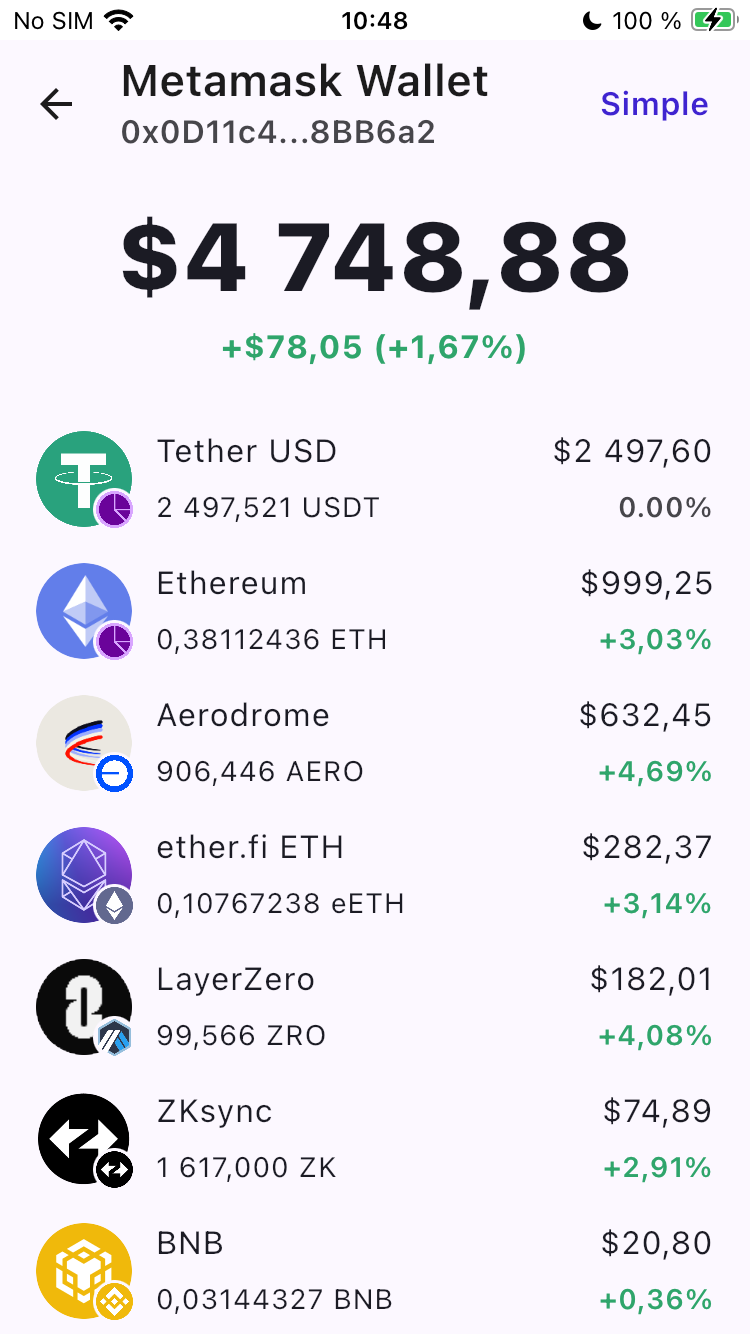
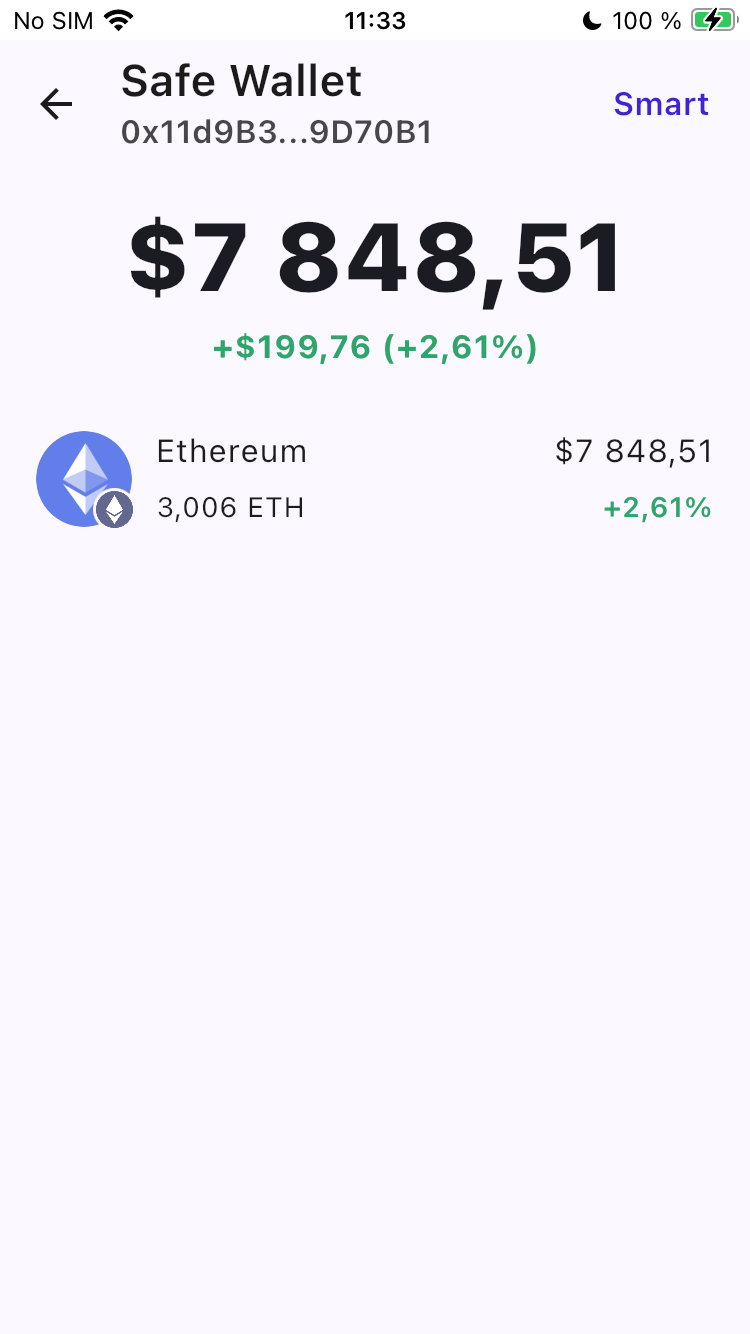
In the top-right corner, you'll also see the wallet type identified as either Simple (a standard user-owned wallet) or Smart (like a Safe).
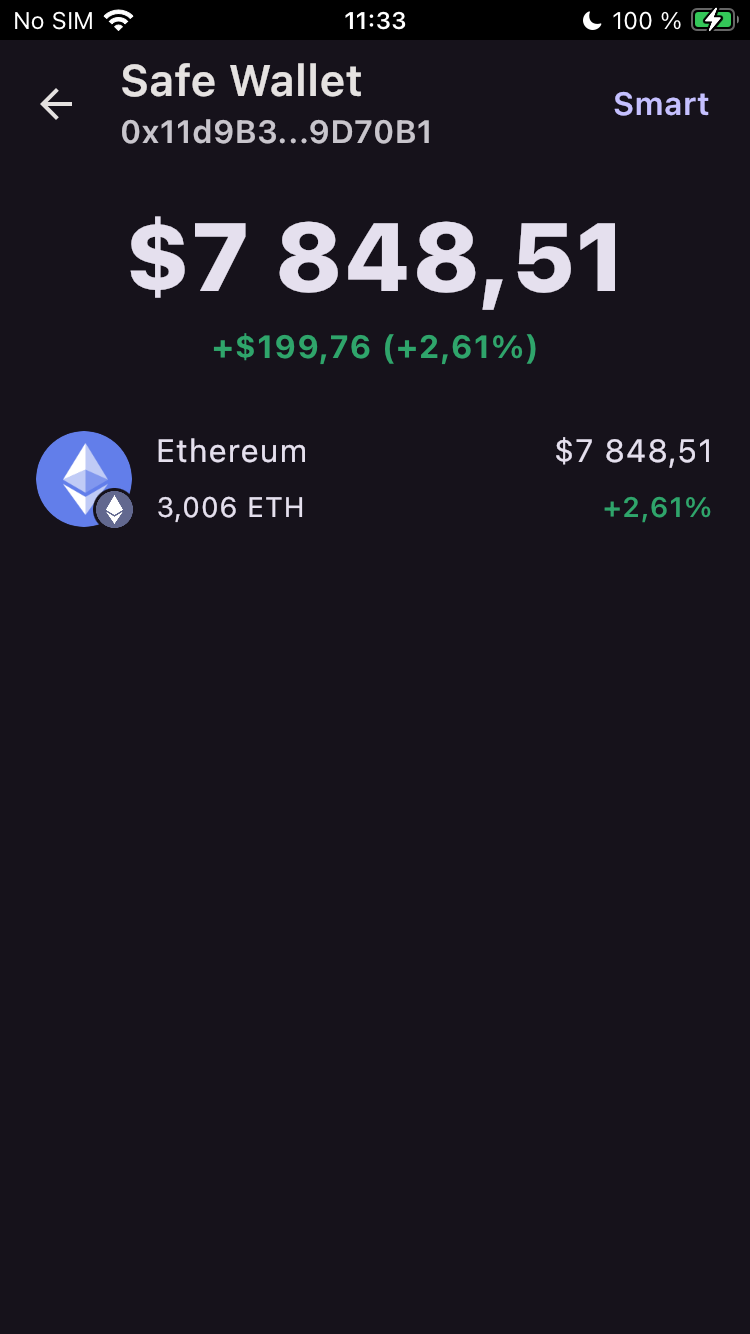
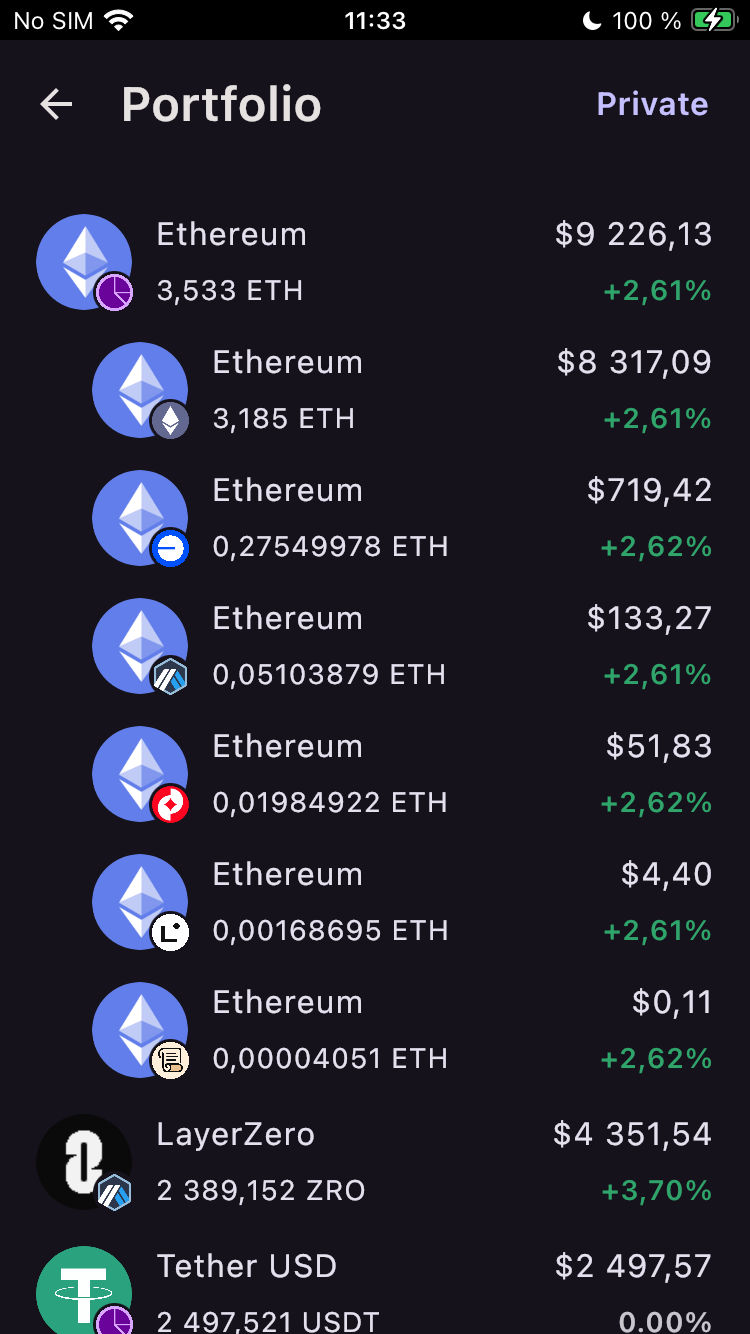
Step 3: Explore Unified Tokens
One of NextNonce's most powerful features is token unification.
If you see the NextNonce logo on a token's chain icon (like for Tether USD or Ethereum in the images above), it means this is a unified token. We have automatically grouped your balances of that same token (e.g., ETH) from across all supported networks into a single, combined entry.
To see the details, just tap on the unified token. It will expand to show you the specific balance you hold on each individual blockchain.

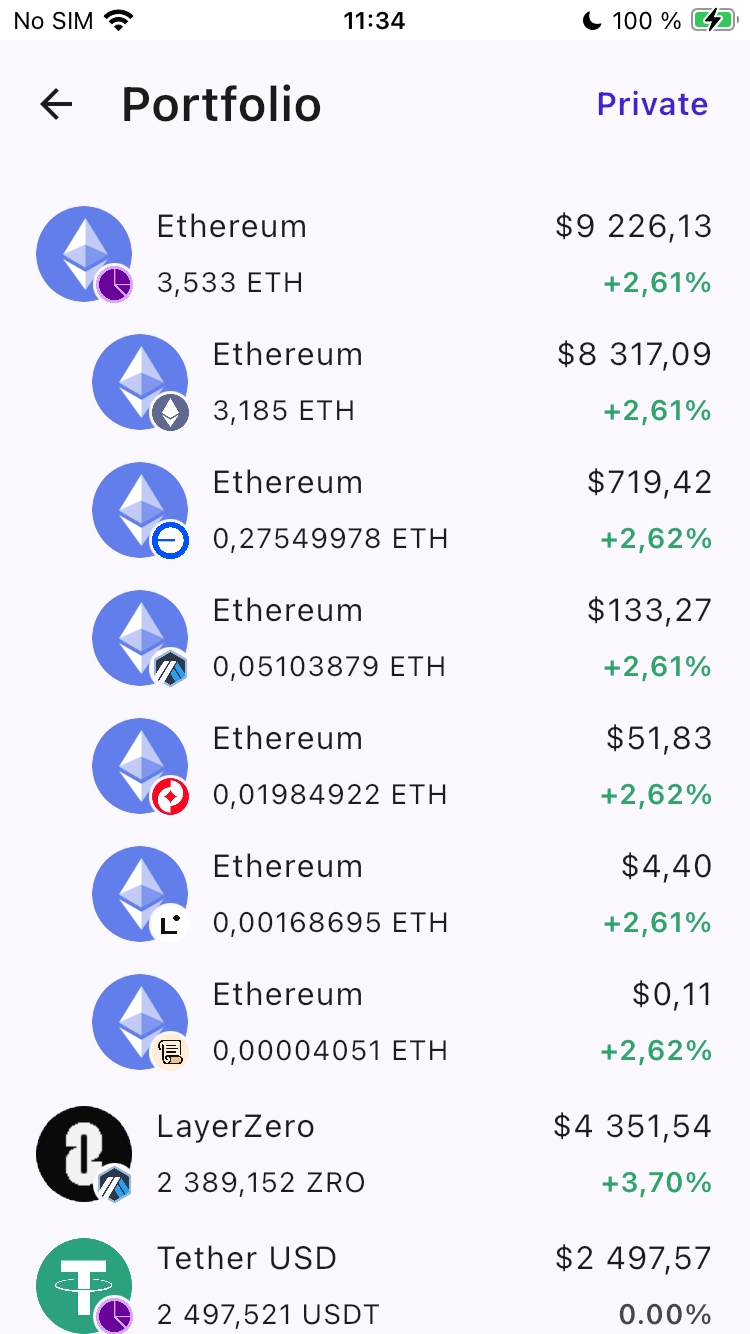
Block 3: The All-in-One Portfolio View
While the wallet view is great for seeing the contents of a single wallet, the Portfolio view gives you the ultimate overview of all your assets combined.
Step 1: Navigate to the Portfolio
First, go back to the main dashboard. At the very top, tap on the large Portfolio card that shows your total balance.
Step 2: Understand the Portfolio Screen
This screen looks similar to the individual wallet view, but with one key difference: it aggregates every token you own across ALL of your added wallets.
If you have ETH in three different wallets, this screen combines them to show you your total ETH holdings. It's the perfect way to see your entire crypto net worth at a glance.
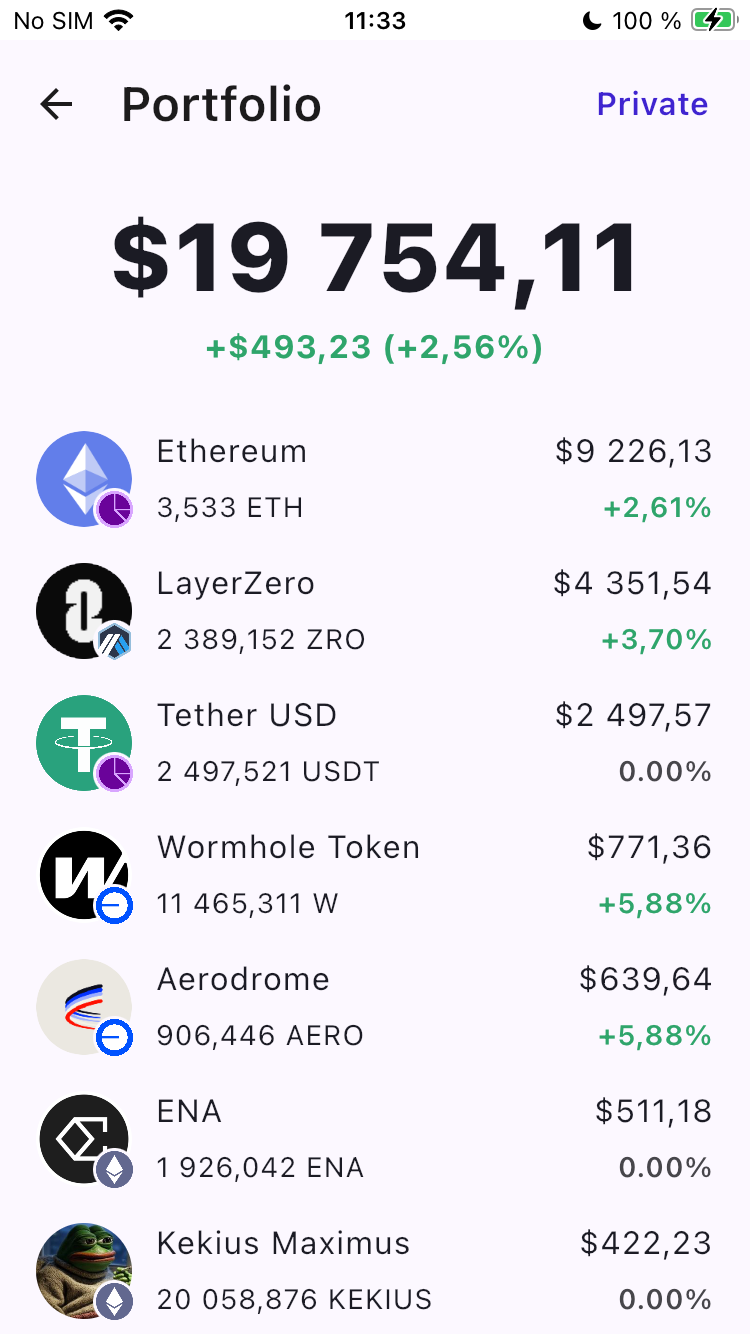
Just like in the wallet view, you can tap on any unified token (the ones with the NextNonce logo) to see a detailed breakdown of where that asset is held—across which wallets and on which blockchains.
That's It!
You now know how to navigate all the core features of NextNonce. We built this app to make crypto tracking simple, safe, and even enjoyable. We hope you have a fantastic experience using it.
May your portfolios only see green days and your balances only grow!